Tuesday 26 December 2017

Running rigging


To present the running rigging correctly one should assemble the boat to show how everything works. I have not assembled the boat yet so at least for now this will have to do. 

The fittings fastened to the mast extension are for tightening the luff of the sail.


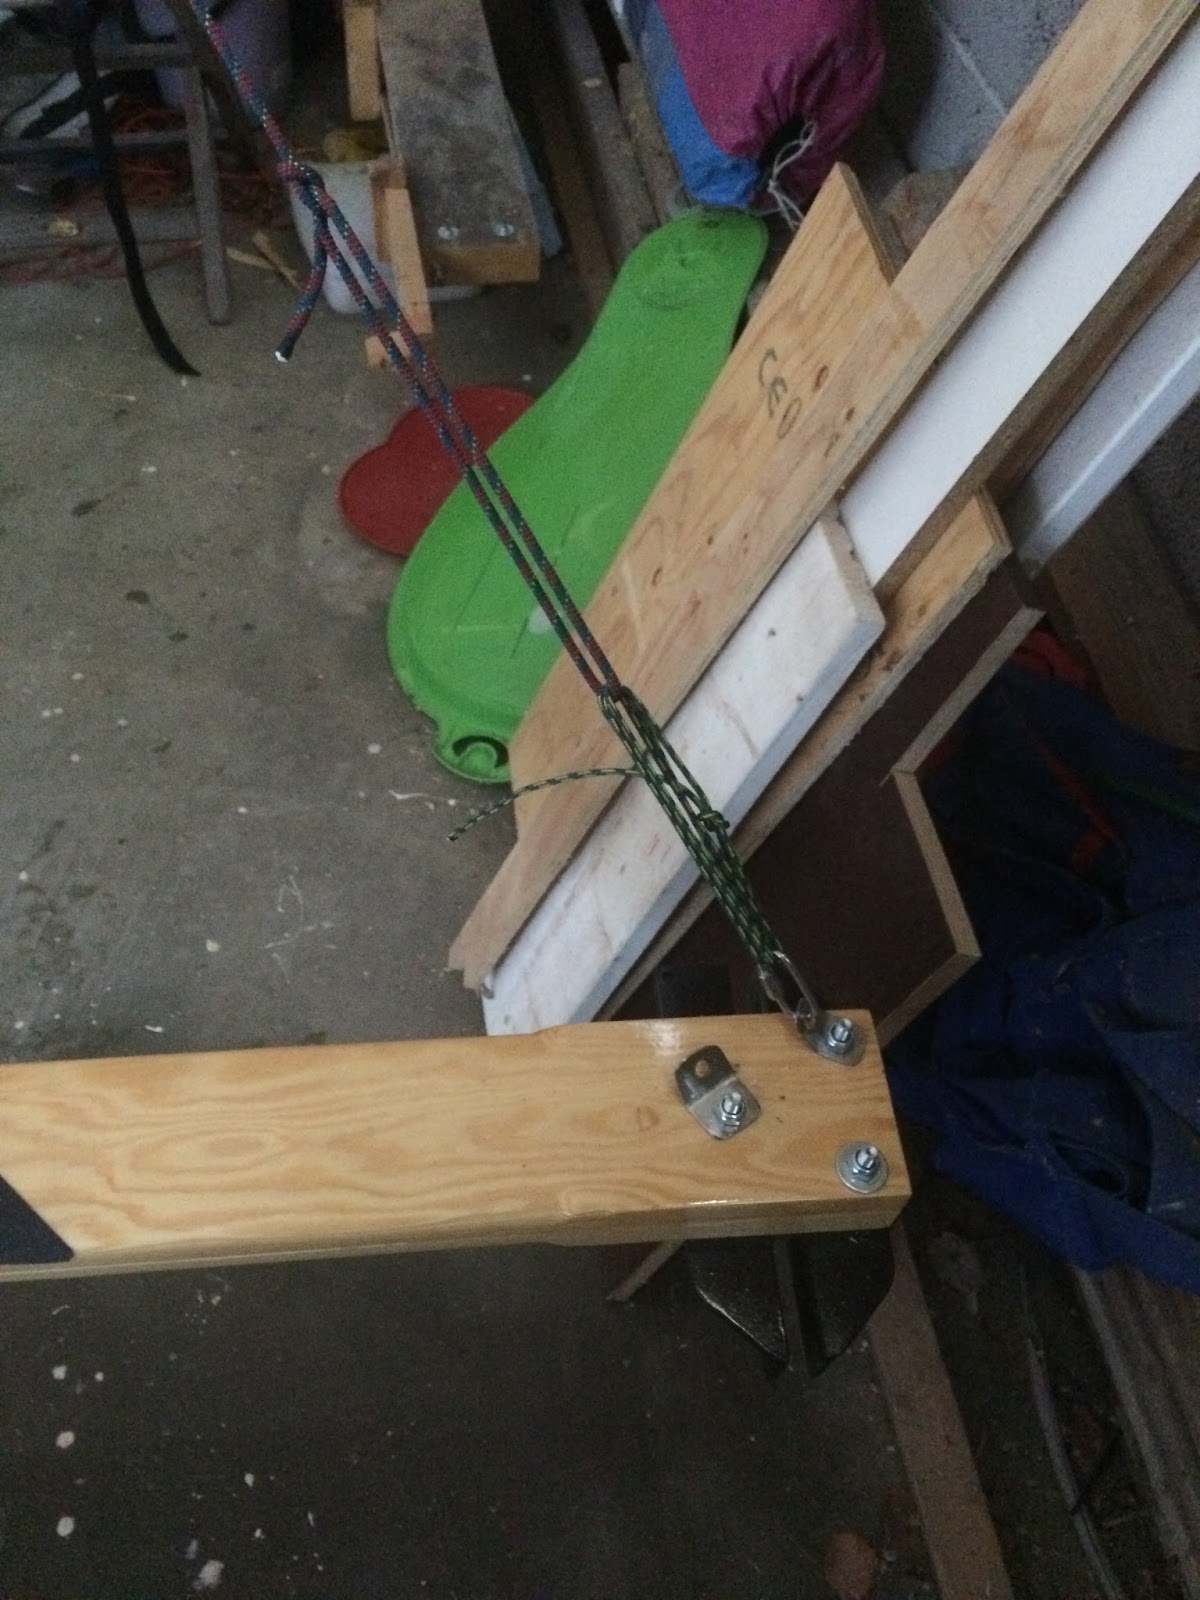
The side blocks for trimming sail. There is one on both ends of the runner board.


The block in the cockpit. I might have to make some adjustments here neither the block type nor the location seems optimal!


The blocks on the boom for trimming sail.


I now consider the boat to be ready! Next on the agenda is to test the boat. Hope to get back with video footage of  the shakedown test.

Sunday 19 November 2017

Standing rigging part two. Support mast, mast extension and stays.

Based on the measures taken earlier support mast, and mast extension are made.

Mast extension in the making.


Lathe set up.


I happened to take away a bit to much material on the first extension piece so I ended up making two mast extension pieces...


Next up is the support mast witch is made of 48mm round bar.


Surface treatment.


The support mast in place.


I used 5mm Dyneema type rope for stays. Dyneema ropes have low stretch witch make it suitable for stays.


Final adjustment of stay length is done with 3mm Dyneema rope.


The wind surfing mast attached to the support mast.


Not so relevant picture from building point of view but shows that winter is coming! If nothing unexpected happens I expect to be able to sail the ice boat this winter. How successfully remains to be seen. It will probably take another month before sea ice conditions are favorable for ice boating. 


Saturday 14 October 2017

"Horses" A small side project!

"Horses" are handy when assembling the boat on the ice!

I had a used 12 mm plywood board lying around that I used for making the horses. 


Following the earlier pattern of the build! Make parts->Surface treatment->Assembly.


The carpet will act as hinges.


I use a offset so that nuts will not hit each other when the horse is folded together.


Sunday 23 July 2017

Standing rigging part one. Setting up the sail to get some measures.

The Isabella iceboat is designed to use a windsurfing sail complete with sail, mast and boom. I bought a second hand set with two sails one mast and one boom.

Based on the data comparison below it seem that the mast is a bit longer than necessary. On the other hand I won't need to make a long extension piece to fit to sit under the sail. Another good thing with the long mast is that I expect a bigger sail should fit. I think I would like a bigger sail in the future for light winds.


Sail data.


Mast data.


Loose sail!


An extension piece at the lower part of the mast is needed for two reasons, one is to protect the fiber glass at the point where it touches the hull and the other is that a tightening mechanism is needed for getting correct tightness on luff.


I made some marks to the mast with permanent marker where I expect boom  and sail opening to be this should be enough to be able to manufacture mast extension piece and support mast. 


Sunday 25 June 2017

Fastening chocks.


I finally got around installing runner chocks to runner plank. I started by fastening chock for one side. At this point I only needed to focus on trying to get it in 90 degrees angle towards runner plank.


Here I have installed runners in chocks as that is needed for measuring to make sure runners are in parallel.


The left side runner is fastened with one bolt to enable adjustment. I use a measurement stick to measure that runners are parallel. Once runners are parallel the two last fastening holes are drilled.

 It would probably be possible to use laser or something else fancy to measure parallelism! An advantage of this method other than that it is very simple is that it is the parallelism of the sharpened edges that is measured. 


A jack is made with a saw to measurement stick straight above the runner axle bolt.After this the measure is checked at forward and aft part of runners and adjusted until measure is same everywhere.


After checking the measures its time to drill the remaining fastening holes.


Runner plank ready!


Not so much to say about front runner chock fastening! M8 bolt holding chock in place and acting as shaft for steering.