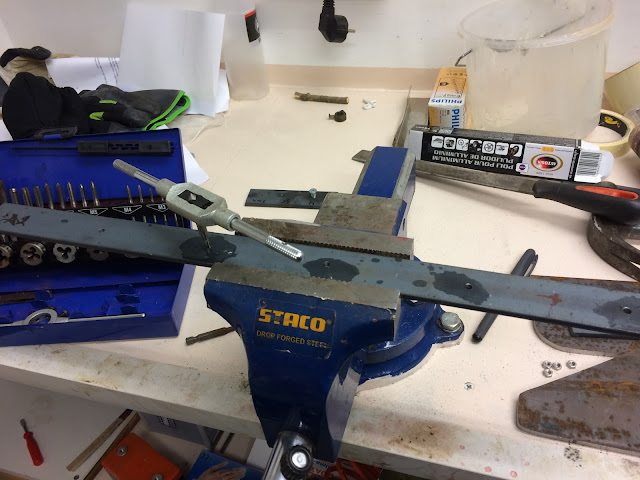
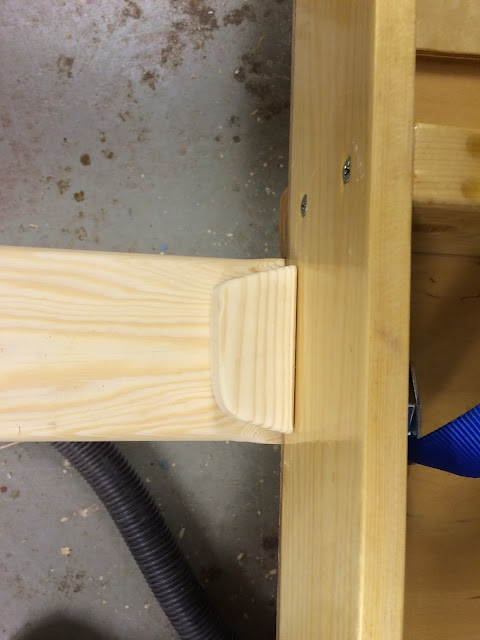
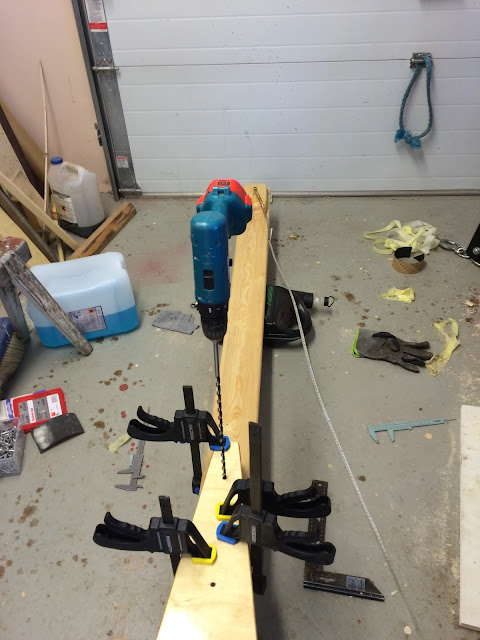
Front runner was basically made in same way as the rear runners! Location of shaft hole is a bit different and no stiffeners should be needed.
"Designing" the parking break that will be on the front runner.
Welcome to MyIceBoat blog. The intention of this blog is to share my experiences and thoughts of my ice boat build. The blog is set up as a building diary were I post stuff during the build. As I'm often referring to the designer Bernd Stymers building instructions the address to his home page can be found below where also the building instructions can be found! http://www.isabella-iceboat.com/isabella.html Please also visit my other blog at http://mydodgedartrearcouch.blogspot.com
Wednesday 4 January 2017
Thursday 24 November 2016
Rear runners in the making.
After a couple of more trips to the scrap yard this is what I ended up with! Two flat iron bars. The wider one is 90 x 6 mm and will be used for blades and the other one is 30 X 5 mm and will be used for stiffeners. I would have liked to have gotten a higher flat bar for the blades for example 130 x 6 mm but that was not available. These runners wont allow much snow on the ice! Normal carbon steel is used. Stainless steel would be easier to maintain. I have read or heard that the frictional coefficient for carbon steel on ice would be lower than for stainless steel on ice. Although not confirmed I hope it is true since it should make the boat faster.
I started by cutting the bar in correct length (600 mm).
Next step was to shape the blade. The instructions state that blade should have a curve of 2 mm on a length of 400 mm measured from below the bolt of runner. I achieve this by taking of material of the blades with a belt sander with 40 grit sand paper.
Both runners were shaped at the same time.
Every now and then I checked the measures until I was satisfied.
I made a small deviation from building instructions by leaving a 10 cm part straight below where the fastening bolt will come on the blade. This is how I know some of the DN sailors shape their runners when they sharpen them! Also good to point out here is that I'm only shaping the curve of the blade to desired shape now. The blade still has to be sharpened before it is ready.
Stiffeners. These are there for strengthening the blade in side ways. If and when the boat tips up on two runners during sailing due to strong winds, the sideways force on forward part of the rear runner still on the ice might become so big that it bends the blade if no stiffeners are used.
I'm using a bolt joint to fasten the stiffeners. Here I'm making M5 threads in one of the stiffeners and the other side will have counter sunk bolt head.
Like this!
Assembled.
The rear runners are now ready for sharpening. That will however be explained in a separate post later on!
Monday 24 October 2016
Summer is over!
Summer is over and I'm trying to pick up the ice boat project were it was left in spring. Next on the agenda is runners and chocks. Have to admit that the metal work required here is a bit out of my comfort zone. I have been thinking back and forth how to build the runners,fittings and chocks.
For the rear runners I'm thinking there are basically two ways to go. One is to follow Bernd Stymers design explained in the building instructions of the Isabellakiss 2012. Or to build as pictures of earlier Isabella iceboats shown on the internet have.
Animations below showing old design of chocks and runners versus new design of chocks and runners.(Animations are cutouts from the building instructions).

Pros and cons of the alternatives.
Alternative one, according to building instruction in Isabellakiss 2012:
+ I like the new design as it seems smart!
+ No need to weld anything.
+ The fact that the runners would be made of L profile bar would remove the need for building stiffeners to runners and at the same time provide full height of the blade. As stiffeners usually tent make the runners thicker and thus making it harder for the runner to cut true snow on the ice witch slows the boat down.
- Manufacturing of some of the parts for chocks would need to be outsourced.
- Dimensional drawings for the manufactured parts would need to be made as the building instructions have little detail when it comes to dimensions.
- Weight is a concern even if I'm not sure the design is actually heavier than the alternative.
- There seems to be no experience of the new design shared on the iceboat forums.
- I have been to scrap yards twice now to find some material for the chocks and runners but without success. If I buy the material needed from a hard ware store I have to buy big quantities so I should build several boats at once.
Alternative two. "Old" design runners and chocks.
+ I built an ice boat ~15 years ago were similar chock and runners were used. With the experience from that boat I believe I should be able to build functioning chocks and runners. At least for the rear runners. (I had some problems on the front runner chock on the earlier boat and it was reinforced and modified at least twice before it worked properly).
+ The chocks and runners can be built out of material one is able to get hold of.
- Result becomes more uncertain as one improvises based on what material one is able to find.
Below some pictures of the first ice boat I built.
The two pictures below are taken before the first time the boat was ever sailed. The first version of runners and chocks can be seen. At this point the runners where sharpened over the whole length and did not have any radius. Runners where sharpened in 90 degrees angle. There are no stiffeners installed on runners yet!
For the rear runners I'm thinking there are basically two ways to go. One is to follow Bernd Stymers design explained in the building instructions of the Isabellakiss 2012. Or to build as pictures of earlier Isabella iceboats shown on the internet have.
Animations below showing old design of chocks and runners versus new design of chocks and runners.(Animations are cutouts from the building instructions).

Pros and cons of the alternatives.
Alternative one, according to building instruction in Isabellakiss 2012:
+ I like the new design as it seems smart!
+ No need to weld anything.
+ The fact that the runners would be made of L profile bar would remove the need for building stiffeners to runners and at the same time provide full height of the blade. As stiffeners usually tent make the runners thicker and thus making it harder for the runner to cut true snow on the ice witch slows the boat down.
- Manufacturing of some of the parts for chocks would need to be outsourced.
- Dimensional drawings for the manufactured parts would need to be made as the building instructions have little detail when it comes to dimensions.
- Weight is a concern even if I'm not sure the design is actually heavier than the alternative.
- There seems to be no experience of the new design shared on the iceboat forums.
- I have been to scrap yards twice now to find some material for the chocks and runners but without success. If I buy the material needed from a hard ware store I have to buy big quantities so I should build several boats at once.
Alternative two. "Old" design runners and chocks.
+ I built an ice boat ~15 years ago were similar chock and runners were used. With the experience from that boat I believe I should be able to build functioning chocks and runners. At least for the rear runners. (I had some problems on the front runner chock on the earlier boat and it was reinforced and modified at least twice before it worked properly).
+ The chocks and runners can be built out of material one is able to get hold of.
- Result becomes more uncertain as one improvises based on what material one is able to find.
Below some pictures of the first ice boat I built.
The two pictures below are taken before the first time the boat was ever sailed. The first version of runners and chocks can be seen. At this point the runners where sharpened over the whole length and did not have any radius. Runners where sharpened in 90 degrees angle. There are no stiffeners installed on runners yet!
Ready for first shake down test! Witch resulted in a broken support mast :)
This is what the boat looked like before it was sold. Rear chocks were not modified but runners have gotten stiffeners. Front runner chock has been modified. The runners where only sharp and straight on a 10 cm long area below the bolt rest of the runner was made round and with a radius. Also the sail hauling system was completely rebuilt compared to first version.
Thursday 14 April 2016
Spring is in the air.
During the last two weeks most of the ice in the archipelago where I live has disappeared! I had hoped to get the ice boat ready in time to atleast have a first test on spring ice but as always with projects like this they tend to take longer than expected. On the other hand spring ice conditions this year would not have allowed ice sailing any way.
Even if I consider the ambition level of the build to be fairly low quite some time has been spent. A rough estimate of time spent so far is somewhere around 40 hours.
The next step is to start building runner shocks and runners. I have come to a milestone and therefore it feels like a good idea to take a break from the build now before starting on the metal work.
Below some pictures of what the boat looks like now.
Friday 1 April 2016
Miscellaneous tasks.
Lately I have been working mostly on finishing miscellaneous details.
In the last post I made the runner plank fastening arrangement to the hull. Also the runner plank needs some modifications in order to stay put once fastened to the hull. Stop blocks to keep the plank in place in sideways direction under fabrication.
Runner plank stop blocks glued and screwed.
Varnish applied to runner plank.
Backrest folded down.
Springboard fastening.
Measuring so that everything is straight.
Springboard bolted to the hull with M8 bolts.
In the last post I made the runner plank fastening arrangement to the hull. Also the runner plank needs some modifications in order to stay put once fastened to the hull. Stop blocks to keep the plank in place in sideways direction under fabrication.
Runner plank stop blocks glued and screwed.
Varnish applied to runner plank.
From an earlier project some grip tejp was left over.
Backrest fastening with stainless steel hinges.
Backrest folded down.
Springboard fastening.
Measuring so that everything is straight.
When all is lined up the holes for fastening bolts are drilled thru the spring board.
Springboard bolted to the hull with M8 bolts.
Sunday 6 March 2016
Runner plank fastening.
The last weeks have been a bit slow when it comes to the ice boat build. One reason for slow progress is that the family visited a ski resort for a couple of days.
When this picture was taken the weather was perfect! Only a couple of degrees below zero almost no wind and sun shining from a clear blue sky. Perfect conditions for down hill skiing! When it comes to outdoor activities regardless if it is summer or winter activities they are always to some extent relying on the weather. Ice boating is no exception and when it comes to being weather sensitive ice boat sailing must be one of the worst. You need both ice and wind conditions to be good to enable sailing. Not to mention that you need to have the day off when the conditions are favorable.
Back to the topic some small progress has been made on the boat also.
In the plans for the Isabellakiss iceboat the runner plank fastening is with straps. I will try a similar fastening arrangement.
Location of the front side of runner plank measured and marked. Fixing blocks made to fix the plank in correct place.
Holes for the straps being made.
The fixing blocks were glued and screwed to the hull.
The bottom of the hull was left un coated earlier. But now all wood work on the hull is ready and varnish can be applied to the bottom also.
Subscribe to:
Posts (Atom)


