Tuesday 12 January 2016

The deck.

Before the deck plywood is glued on, the hull is filled with polystyrene foam board. This to ensure that the ice boat does not sink in case ending up in the water.


 I used a saw, wire brush and vacuum cleaner for shaping the polystyrene. So far this has been the only unpleasant job of the build. Even if using the vacuum cleaner the polystyrene balls get stuck every where.


Also the small box in front of the seat is filled with polystyrene.


Sometimes you have to improvise a bit...

At this point I drilled the two 8 mm holes for fastening the front runner plank.


I use a car exhaust gas pipe clamp as fastening point for the blocks that will be used for trimming the sail.


Same procedure as for gluing the bottom plywood.


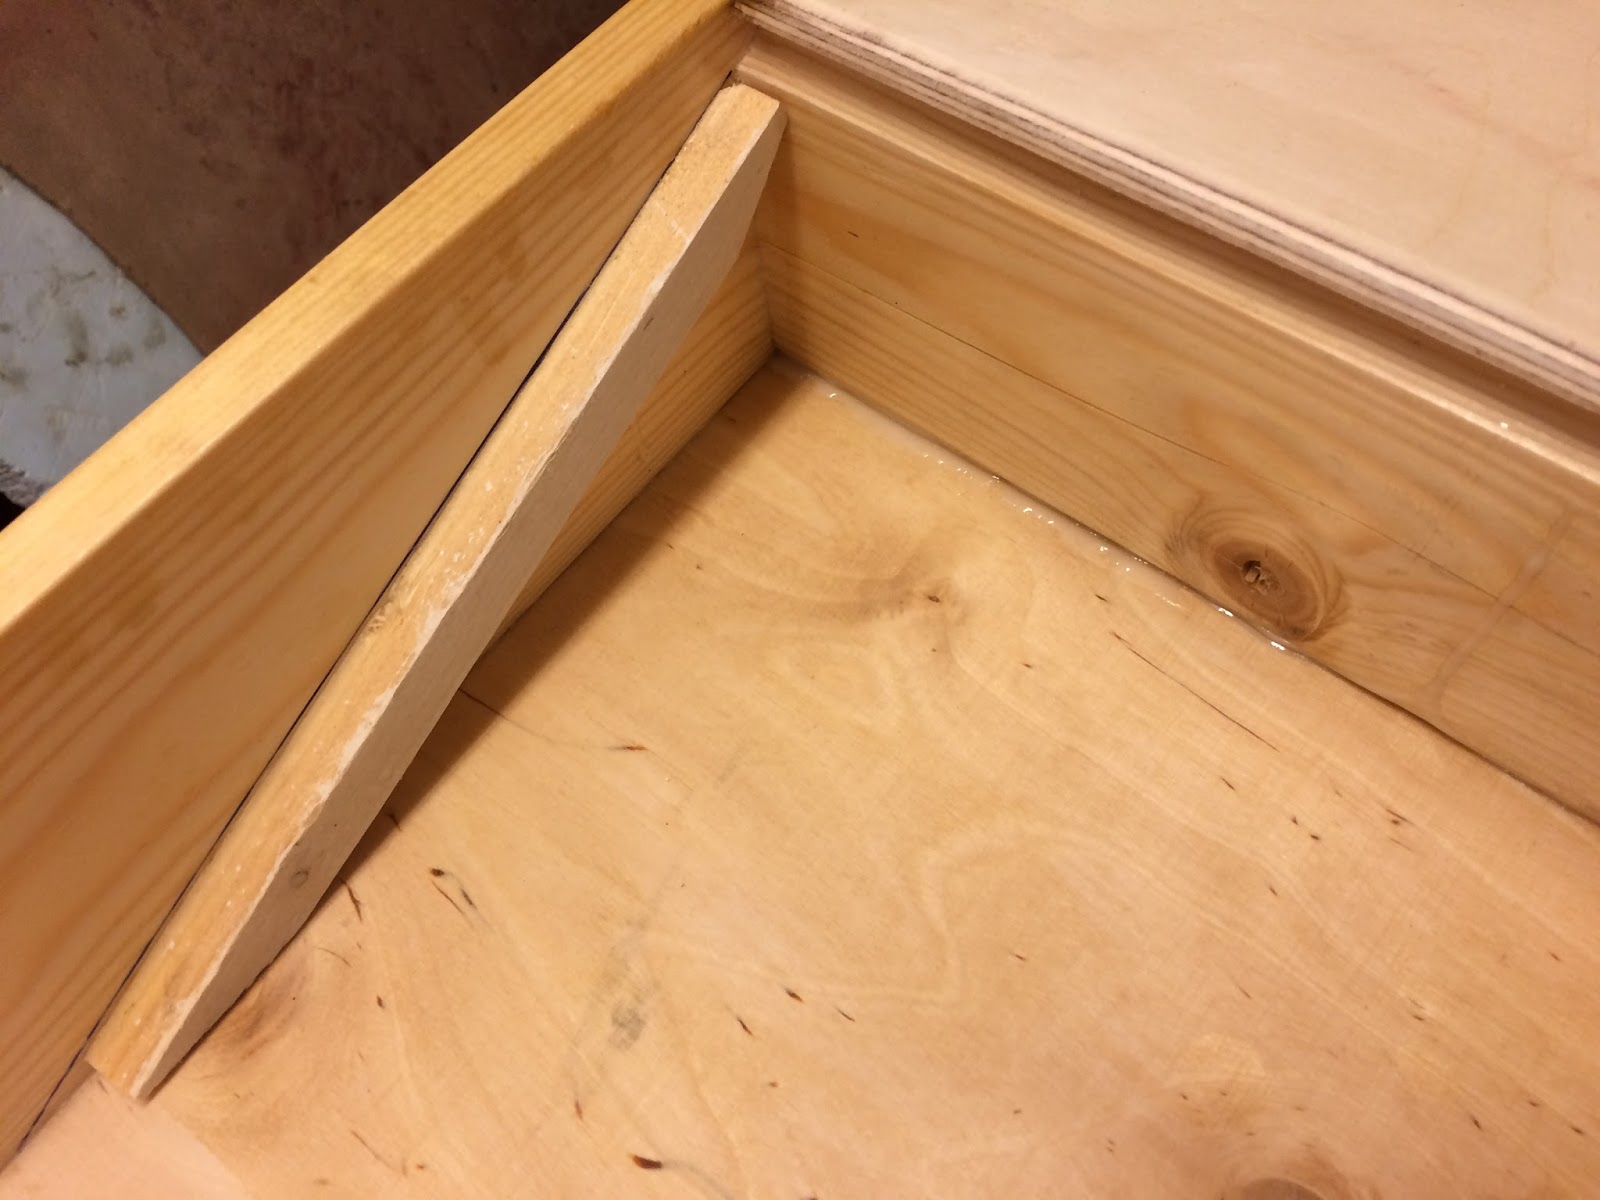
After the glue has dried the hull is taken out side to plane of the excessive plywood and given a finishing touch with sand paper.


Saturday 9 January 2016

The bottom.

With the frame for the hull ready the next step is to cut the plywood sheets for bottom and deck. At this point I cut the plywood quite roughly with some mm safety margin to enable adjustment when gluing the sheets to the frame. The plywood sheet for the bottom needs to be extended since the hull is over 3,2 meters long and the plywood covers the entire bottom. The joints for the extension pieces where planned down to a big angle to maximize the surface at the joint and glued together with white water based weather resistant glue.


As the garden table was needed for working with the plywood sheets the frame was stored under the roof.


With the bottom plywood extended and roughly cut it is ready to be glued to the bottom of the boat. I  set up the job completely once before actually applying any glue to make sure I had everything needed. Again I used white water based weather resistant glue. I chose not to use any screws here. I believe the adhesive bond will be strong enough.


Wednesday 6 January 2016

Starting the build.

I have chosen an ice boat design by Bernd Stymer that he calls Isabellakiss 2012. The design should be fairly easy to build. The plans can be found and downloaded from Bernds homepage. If you are thinking of starting a Isabellakiss build I recommend to print the plans for both his designs since the plans for the Isabella classic contains a bit more details than the Isabella kiss plans. With Bernds permission I have added a link to his home page:
http://www.isabella-iceboat.com/isabella.html

After studying the plans I started the build by going to one of the local hardware stores and bought the needed material for the ice boat hull. Following material was bought:
Side planks spruce 15 X 90 mm.
Middle plank spruce 28 X 90 mm.
Runner plank spruce 20 X 90 mm (two will be glued together).
Nose plank spruce 15 X 120 mm (two will be glued together).
Birch plywood 6,5 mm for deck and bottom.
Birch plywood 9 mm for backrest.

The frame for the hull was built on our garden table that I had put in level to make sure the hull would become straight. I admit that the building platform could have been more rigid! But it worked decently. When assembling the frame I used screws and water based "white" glue suitable for outdoor use.